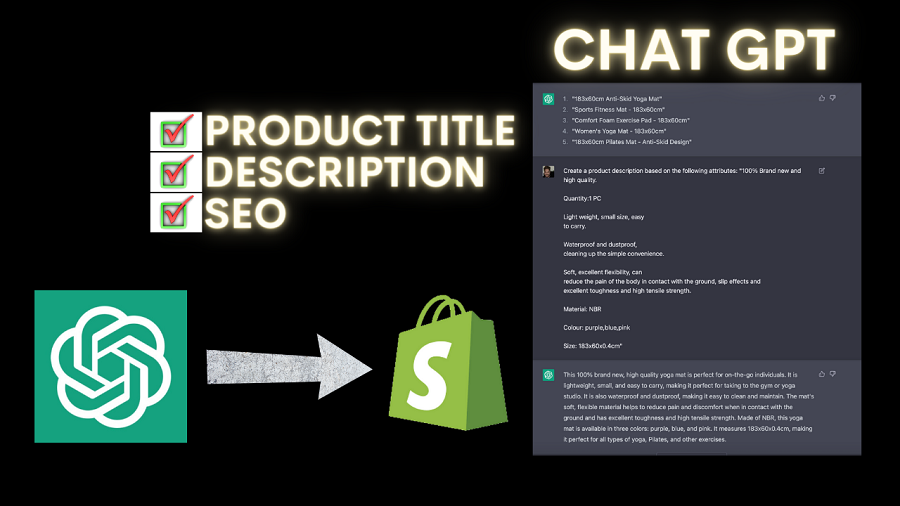
In this article, we took the time to explain how to perform simple tasks in Shopify, which does not require you to hire an expert for your Shopify Store. This tutorial will help you better understand how to set up your products in Shopify.
If you would rather see the video tutorial, here is the video below.
Start by Creating a Shopify Store
First, if you’re new to Shopify, we will start with a free 14-day trial account. So if you guys already have a free account, then you could go ahead and skip this a little bit further.
Let’s pretend we are starting with a fresh new Shopify account. Click on the 14-day free trial link here, and this will take you to a signup email form that you can fill out. You will need to answer basic questions related to your new business, which is easy to carry out.
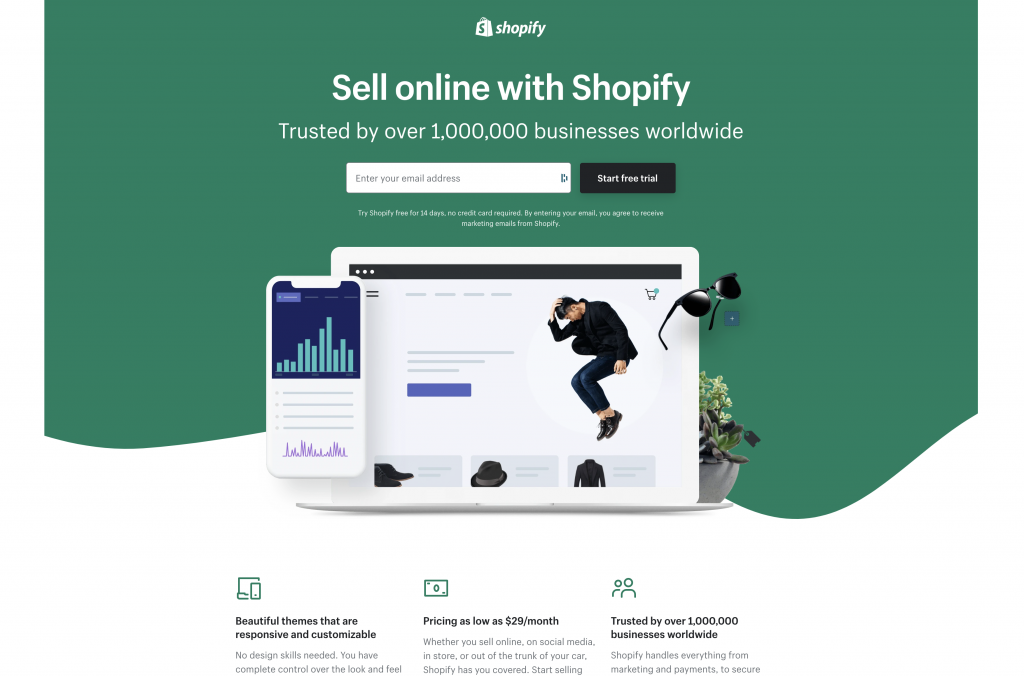
Once you have completed the Shopify questionnaire, you will be at the Shopify Admin page.
Before we begin, Let’s set some eCommerce business definition in place. There are two different types of business models for ECommerce when it comes to selling physical products. You run a business that sells via dropshipping, or you’re selling via a Private supplier.
Dropshipping means you’re using a 3rd party to help fulfill your products on your behalf. Private Supplier means you purchase from the manufacturer in bulks, which then you have them ship it over to you or your warehouse location. From your area, whenever an order comes in, you either physically pick pack and ship the item yourself, or you have your warehouse fulfillment center do it for you.
To continue this training, we are going to pretend you’re in the dropshipping business model.
Getting Started with Oberlo
From the admin page, click on the left menu system where it says Apps. If you find an app called Oberlo, you can click on that app and install it on to your Shopify Store. Oberlo is a software bridge platform which allows you to migrate Oberlo products and Ali Express products into your Shopify store.
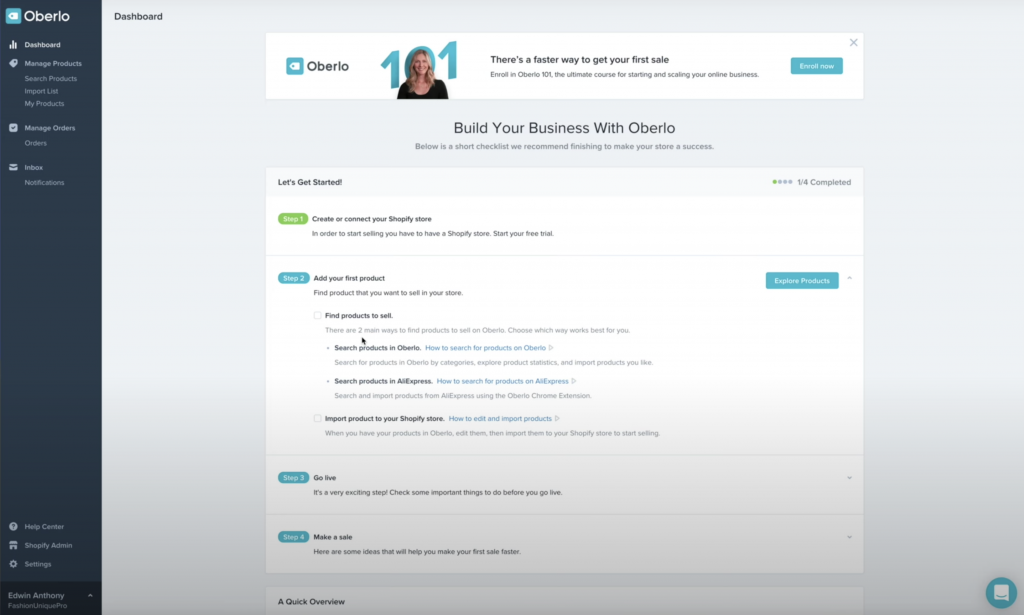
On the left panel inside the Oberlo Dashboard, you can click on Search Products and add products to your Import List. A quick definition of what Import list means: Imagine you’re shopping online, and you have items in the cart; Import list is the same as it acts as a cart for things you want to push over to Shopify. So the goal is to add products to your import list and then push them over to your Shopify store.
On the flip side, what if you want to add products from AliExpress into your Shopify Store? First, go and open up Aliexpress.com and find a product you wish to upload. For this example, let’s search for Watches. Once we land on the watch page, let’s triple-click the website URL of that watch page so we can right-click and copy the long URL.
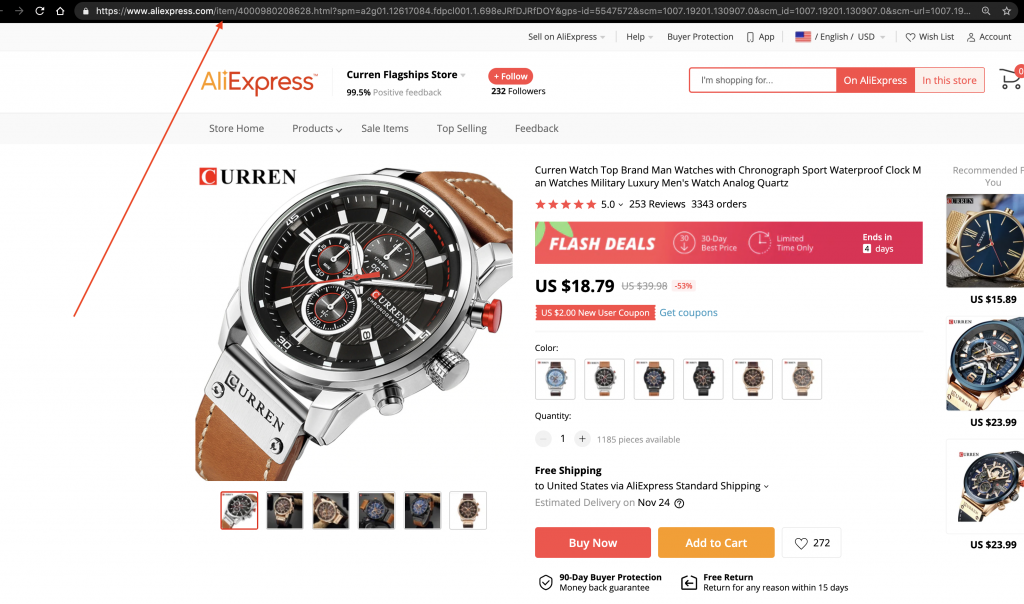
Let’s go back to the Oberlo app and click on where it says “Import Product by URL or ID”.
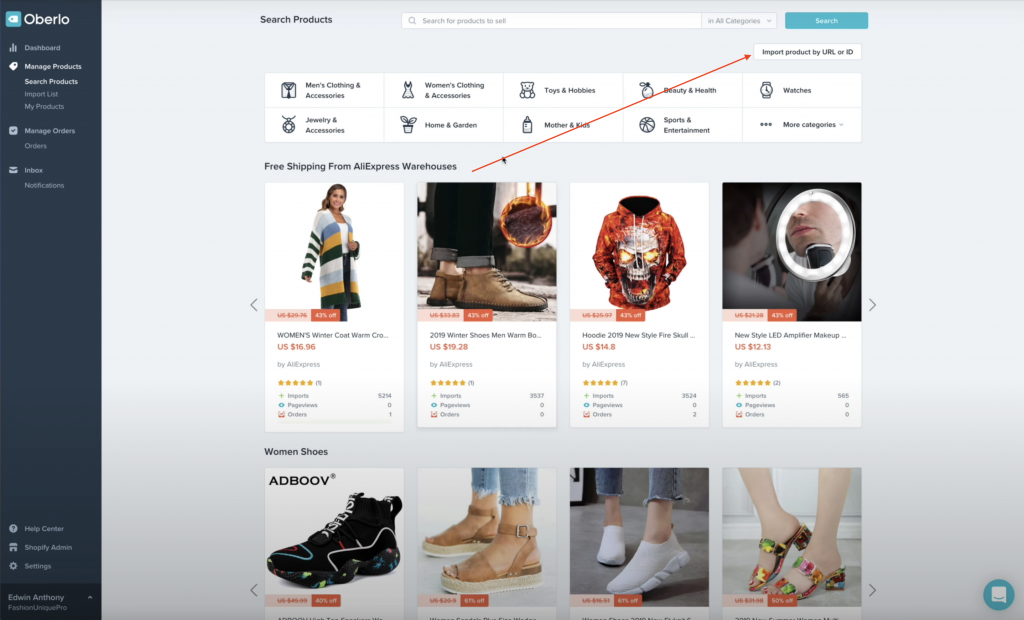
Once you click there, a dialog box will appear, which you will then paste the long URL in that first open text box. Then press Import.
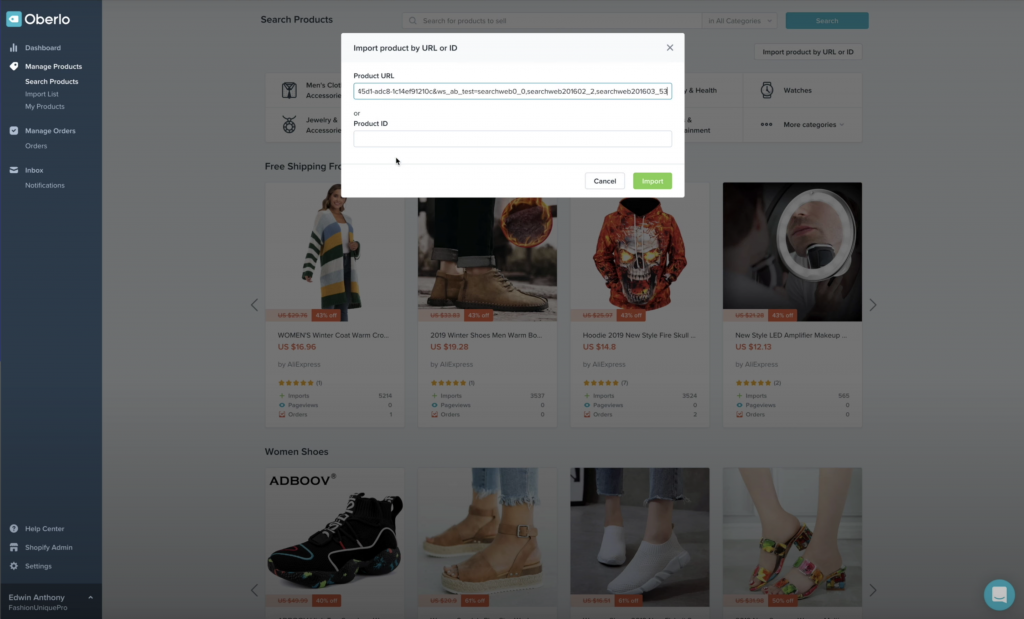
Once you have completed this process, the product will automatically be placed in the Import List, which is still inside Oberlo.
Repeat the same process until you have enough products which you want to upload into the store.
Once you’re done choosing the products, it’s now time to clean them up. By cleaning them, you have to reduce the long product title generated from AliExpress and develop a more exact name for your product titles. You can also modify the product description, reduce the number of variants, and so on. The point is that you want to clean them up so that it’s simple and easy to read.
Added note, this might be a good time to tag the products if you have enabled Shopify Auto collections inside your Shopify store.


